Showing posts with label CRS5085 Cling Backyard Bunnies. Show all posts

Friday, April 7, 2017

Spring Fun!

Spring is definatly in the air! We've been enjoying the warmer weather that's come our way by having our morning coffee on the porch again!  LOVE SPRING!
The Stampendous Design Team is sharing desgins that "Contains: Spring!" this week. That means we'll be showing you some of the wonderful designs that have containers full of spring goodness. Today I stretched the rules a little and am sharing this darling Springtime mirror I created for my granddaughters using the adorable Backyard Bunnies set! I think this "contains" a LOT of SPRING!

Happy Easter!

Supplies
Stampendous
CRS5085 Cling Backyard Bunnies
DCS5085 Backyard Bunnies Die Cut Set
MPW811 Mixed Media White Paper
Frantage Color Fragments - Hot Lime, Taupe
Acrylic Handle
MEM01 Memento™ Tuxedo Black Ink by Tsukineko®
DWLL332 Picasso Stencil
DWNHB-12 1/2" Brush #12 Natural Handle

Plus
IKEA Natural Mirror
White Acrylic Paint
Spring Green striped paper
Copic Sketch Markers - Y15, Y17, YR09, YR68, E35, E37, E51, E53, R29, RV11, RV14, BV00, BV02, BV04, B0000, B02, B04, B32, T0, T2, T4, T6, G12, G14, G17, YG93, YG95, YG97, 100
ZipDry Adhesive
Memento Bahama Blue
Glue
Foam tape
Jute string

Instructions

Step 1:  Paint the mirror white

Step 2:  Stamp the images from the Backyard Bunnies set on Mixed Media White Paper with Memento Tuxedo Black and color with Copic markers, stamp several bunnies, eggs, grass and carrots depending on your design

Step 3:  Die Cut all the images with the matching die set, or cut by hand

Step 4:  Use a liquid adhesive to add a piece of springy green paper under the mirror along the bottom part of the mirror to be your "yard" area

Step 5:  Use the Picasso tool and 1/2" stencil brush to add some "clouds" to the sky area (use the Bahama Blue ink)

Step 6:  Lay out your design around the mirror


Step 7:   Use ZipDry and foam tape to place the various pieces where you want them (you can stamp, color and cut out more images if you need them)
I tied the little cluster of carrots with a piece of jute string and used foam tape to pop them up a little

Step 8: 
  Crumble up a combination of Hot Lime and Taupe Color Fragments and glue along the bottom of the grassy area to finish off the bottom edge


Step 9:   I wanted a little more color so I added the partial carrots around the mirror area and a fun polka dotted bow near the top


Head over to the Stampendous Blog for today's list of participating designers.


Stampendous Blog


Happy Creating,
Louise

Friday, March 18, 2016

Stampendous and Deflecto Blog Hop Finale!


Stampendous and Deflecto have paired up this week to "Welcome Spring"! Our teams have been sharing lots of creative ways to use these two great lines together, so we hope you will stop by each designer's blog to see our creations!

Where there's a Hop there are PRIZES! Check out our wonderful package of goodies.


CRS5087_DCS5087_SSH57
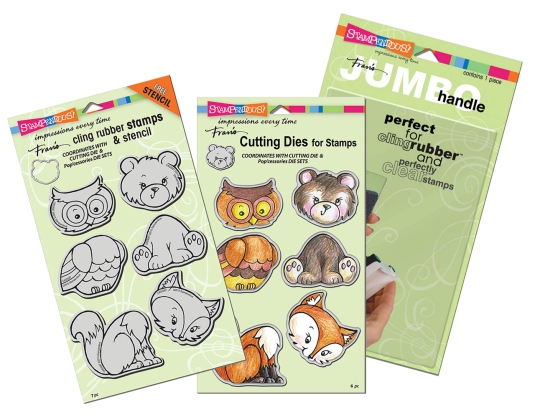
CRS5087 Cling Woodland Friends Rubber Stamp Set, DCS5097 Woodland Friends Die SetSSH57 Jumbo Perfectly Clear Acrylic Stamp Handle

Deflecto Craft is also having a prize drawing so be sure to stop by the Deflecto BlogDeflecto graciously provided each designer with two of their great frames, and a storage spinner that is awesome! Thanks for stopping by this week to see our creations!
On Wednesday, I showed you a peek at the spinner container Deflecto sent each of us.

The spinner has 6 small containers and 3 large ones
Here's how it looks now!

A fun, easy project and it looks completely different!
Using and ink blusher, I applied layers of StazOn inks

The orange ones used Orange Zest, St. Valentine, Claret, and Spiced Chai
The green ones used Cactus Green, Emerald City and Spiced Chai

The bunnies and grass are part of Cling Backyard Bunnies, CRS5085
The bunnies were stamped with Spiced Chai, the grass with Emerald City

Don't forget to color the base too!


I have beads, buttons and small embellishments in the smaller containers

The large containers are perfect for ribbon pieces 
We hope you've enjoyed our creations this week! Here's our list of designers for today:
Louise Healy


Happy Creating,
Louise

Disclaimer: This is a sponsored post. Deflecto has provided product in exchange for my creative ideas, views and opinions.

Where to buy deflecto: Deflecto products are available through local art, craft and educational stores, in addition to online retailers such as Amazon.
Deflecto Blog 
Deflecto Website 
Deflecto Facebook 
Deflecto Pinterest