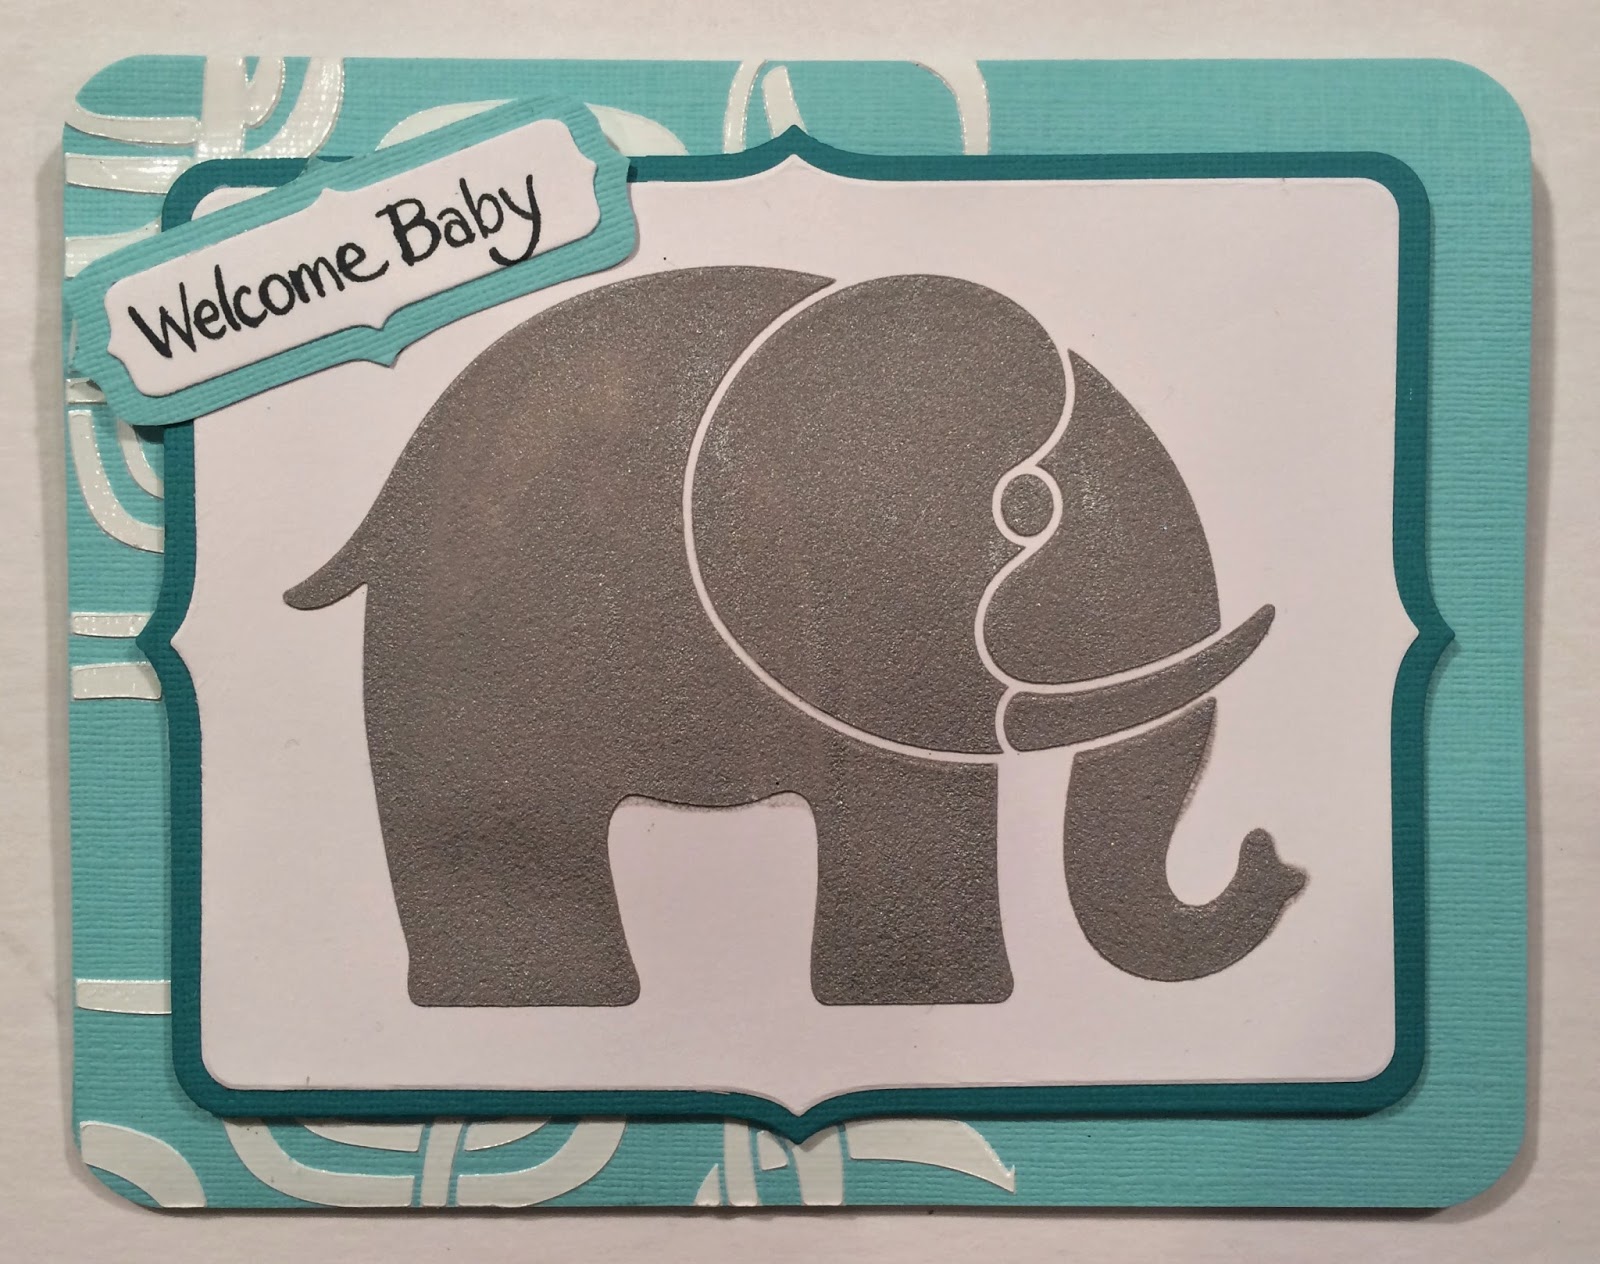
Today I'm sharing the Dreamweaver Open Elephant stencil (DWLG756) paired with the Pop Rectangles stencil (DWLJ929) in the background to create a Welcome Baby card. Just by changing the base card color, you can make it girlish, boyish, don't knowish (pale yellow or green). Plus, it's pretty quick and easy.
Stampendous:
SSC1242 Animal Mobile PCSAcrylic Handle
MPW811 Mixed Media White Paper
DCP1006 Fitted Frames B Die Cut - R (elephant), K (words)
MEM01 Memento™ Tuxedo Black Ink by Tsukineko®
Dreamweaver:
DWLG756 Open Elephant Stencil
DWLJ929 Pop Rectangles Stencil
DWDEP Regular Embossing Paste
DWDSP Silver Embossing Paste
DWDGWP Glossy White Embossing Paste
DWDPK Palette Knife
DWLM2010 Paste Spreader
DWLJ929 Pop Rectangles Stencil
DWDEP Regular Embossing Paste
DWDSP Silver Embossing Paste
DWDGWP Glossy White Embossing Paste
DWDPK Palette Knife
DWLM2010 Paste Spreader
Plus:
My Colors Cardstock - Spearmint, Caribbean Sea
Brilliance Inks- Pearlescent Orange, Pearlescent Coral,Pearlescent Thyme
Foam tape
Die Cut Machine
Removable tape
Zutter 1/2" corner rounder
My Colors Cardstock - Spearmint, Caribbean Sea
Brilliance Inks- Pearlescent Orange, Pearlescent Coral,Pearlescent Thyme
Foam tape
Die Cut Machine
Removable tape
Zutter 1/2" corner rounder
Instructions:
Step 1: Fold a 6" x 9 1/2" piece of Spearmint cardstock in half to form an A6 card
Step 2: Die cut a white and dark teal layer from the Fitted Frames set B size R for the elephant, and size K for the saying
Step 2: Die cut a white and dark teal layer from the Fitted Frames set B size R for the elephant, and size K for the saying
Step 3: Tape the Elephant stencil to the white die cut frame with removable tape
Step 4: Use the palette knife to mix a small dollop of Regular and an equal amount of Silver embossing pastes together on a piece of freezer paper until well mixed, this will create a matte silver paste, use the paste spreader to apply a coat across the elephant stencil, remove the stencil and place in water for cleaning, let image dry
Step 5: Tape the Pop Rectangles stencil to the front left side of the card with removable tape
Step 6: Use a palette knife and paste spreader to apply a coat of Glossy White Embossing Paste over the rectangles, remove stencil and place in water for cleaning, let paste dry well
Step 7: Stamp the Welcome Baby on the small white frame using Tuxedo Black ink, then adhere to the matching Spearmint mat
Step 7: Stamp the Welcome Baby on the small white frame using Tuxedo Black ink, then adhere to the matching Spearmint mat
Step 8: Round the corners of the card
Step 9: Adhere the elephant to it's matching frame, then use foam tape to attach it to the card front
Step 10: Adhere the saying to the elephant layer
Check out more wild designs at the
Happy Creating,
Louise
Step 9: Adhere the elephant to it's matching frame, then use foam tape to attach it to the card front
Step 10: Adhere the saying to the elephant layer
Check out more wild designs at the
Stampendous Blog
Happy Creating,
Louise


