Showing posts with label VersaMark. Show all posts

Thursday, June 26, 2014

Old, New, Borrowed, Blue Finale!

June is quickly coming to an end and the Fourth of July is only a week away!!! Slow down and enjoy the creations the Dream Team has for you in this final week of June. At Dreamweaver Stencils, we love to make our monthly challenges something for everyone, and not so strict that no one wants to play along. This month our challenge is, "Old, New, Borrowed, Blue", with the obvious thought being a wedding theme...but not necessarily. Add an old embellishment or picture. Use a new stencil design or technique. Borrow, or CASE (copy and say everything) another designers project, and obviously, blue...is blue. Where will YOUR creative process take you for this month? We'd love to see! And remember, linking your creations with the Inklinkz tool at the end of the team posts, provides you with the opportunity to win the stencil of your choice!
Here's my creation this week:
LL447 Lg Fleur de lis with LJ841 Fleur de lis in the background
This fits the "old" and "blue" categories nicely I think! The stencils, LL447 Lg Fleur de lis and LJ841 Fleur de lis,  were both originally released in 2003, so they are "older" stencils, and the technique I used gives it an "old fashioned feel". It is so pretty in person, pictures never really do justice to touching and feeling!
Here's how to do it:

  • Tape the background stencil (LJ841) to a piece of black cardstock with removable tape
  • Use a sponge applicator (the ones from IMAGINE Crafts work great) to apply a coat of VersaMark (also from IMAGINE Crafts) over the entire stencil, making sure to get in the thin grid lines
  • Remove the stencil and place in water for cleaning
  • Sprinkle the image with Clear Embossing Powder (not the SuperFine, just regular), tap off the excess and heat emboss
  • Do the same thing with the Lg Fleur de lis
  • Choose a couple of colors of acrylic paints (I used Distress Paints weathered wood and broken china), place a small puddle of the lighter color on your craft mat and pick it up with a foam applicator to apply in all over the embossed image (be generous, you want a nice layer of paint), then blend in some of the darker color
  • Do that to both embossed pieces
  • Let them dry until they are almost completely dry, use a slightly damp cloth or paper towel to GENTLY remove some of the paint off of the embossed areas, be patient!
  • Let them dry thoroughly
  • It's hard to see in the picture, but I used Tim Holtz's edge distressing tool to rough up the edges of both painted layers, it exposes the black edge of the paper and really adds to the aged feeling
  • The background layer was added to the front of a black base card, and the Lg Fleur de lis was added with foam mounting tape
  • Some beautiful ribbons from May Arts always give a great finishing touch

The "B" team has more great creations for you on their blogs too!
Louise Healy

Happy Creating,
Louise


Friday, June 13, 2014

Dreamweaver and Imagine Crafts Day 5!


 It's our final day of the first ever collaboration week with Imagine Crafts/Tsukineko! We've shared all of our toys on both sides, and have shown you the Endless Possibilities! Three prize packages are available, each containing one set of each of these inks and stencils/dies. Just leave comments on each post of each day this week (June 9th - June 13th) for a chance to win! Winners will be announced on Tuesday, June 17th!
Imagine Crafts New StazOn Pads from Tsukineko
Stencils and Dies Prize Package

For my final project this week I am showing the Faux Tile technique. If you want the step by step pictures of how to do this click here to see the tutorial I posted last year. This one uses a different overlay stencil, but the steps are the same.

Faux Tile Technique
Here's the quick "how-to" version:

  • Dry emboss the Diamond grid stencil (LJ882) on white cardstock
  • With the grid stencil still in place, overlay the Wren stencil (LL571) and tape in place with removable tape
  • Use small stencil brushes to apply ink to the Wren design, use the Picasso (LL332) to help with the placement of colors. All the colors I used are from IMAGINE Crafts. They were Radiant Neon Electric Yellow, VersaFine Toffee, Habanero, Satin Red, Spanish Moss, Olympia Green.
  • When you finish adding the color, remove the Wren stencil and wipe it off with a soft cloth.
  • Use small pieces of removable tape over the bird area of the stencil, then tape the stencil  over and down from the original and color another set of flowers and leaves
  • Remove the Wren stencil and use a 3/4" stencil brush and VersaFine Deep Lagoon to brush in the "sky". Use the cloud end of the Picasso to create a couple of clouds
  • Remove the grid stencil and wipe it off with a soft rag and return to the design
  • Use a finger dauber to apply a coat of VersaMark over the entire grid
  • Remove stencil, set aside
  • Sprinkle with clear embossing powder, heat set
  • Repeat the VersaMark, embossing powder and heating two more times to get a smooth tile-like finish
  • Mount into a beautiful card and embellish with a wonderful ribbon from May Arts!
I hope you have enjoyed our creations this week, we have had a lot of fun trying new products!  Don't forget to leave comments for the chance to win those great prize packages. Thanks for all your comments, I truly appreciate each one.


Happy Creating,
Louise


Thursday, July 4, 2013

Summertime, Sparklers, and S'More!

Happy 4th of July! Welcome to the new Dreamweaver Stencils challenge for July. Our new theme for this month is Summertime, Sparklers, and S'More! Sounds like a lot of fun and sparkle to me! We are also welcoming a guest designer for July, Wendy Price, and can hardly wait to see what she created this week!
Thank you for all your wonderful comments from last week's Dreamweaver and Ranger hop, it's always so inspiring to read them. You'll want to check out the DREAM it UP! blog to see if you were the winner of one of those great prizes!
I have spent the last week in Cincinnati visiting my beautiful little granddaughter. She keeps me hopping, so I don't have a lot of time for other things while I'm here, but I wanted to share a fun, summertime card that I recently posted on my Pinterest board. It fits our summer theme perfectly.
Faux Tile - LG609 and LM163

This was done in the Faux Tile technique. If you've never done this, be sure to give it a try, it's easy!

  • Dry emboss the Tiles stencil (LG609) with a light box and stylus, or through a die cut machine
  • Leave the tile stencil in place and put the Lighthouse over the tile stencil and tape in place with removable tape
  • Use small stencil brushes to add color
  • Remove the stencils, wipe off the tile stencil with a soft rag and re-position it over the image
  • Use a finger dabber to dab VersaMark (clear embossing ink) over the whole image
  • Remove the stencil and sprinkle with Clear Embossing Powder, tap off extra
  • Heat set the embossing powder and cool
  • Return the tile stencil over the image and apply another coat of VersaMark and powder
  • Heat again to create a smoother finish to your tiles
  • Mount on summer paper and embellish as desired!
Here are some more wonderful designers bringing you great summertime creations.


Happy Creating,
Louise
Thursday, March 14, 2013

A Bloomin' Spring!

Welcome back to week 2 of the March Dreamweaver Stencils design challenge. This month our challenge is "A Bloomin' Spring!", which naturally leads to spring flowers popping up and birds returning for the season. We would love to have you join our fun. Make your own creation and post it on your site then link it on the DREAM it UP! blog using the Mr. Linky tool.  Don't have a way to post your creation? Not a problem, just email a photo of your card or project to lynell@dreamweaverstencils.com and she will post it for you. You could win a great prize!
This week I will show you the Faux Tile technique. It's fun and can be done with virtually any stencil. Here we go:
Place the Diamond Grid (LJ882) stencil on the large platform
of your die cut machine
Lightly mist your paper with water or alcohol and tape over the grid

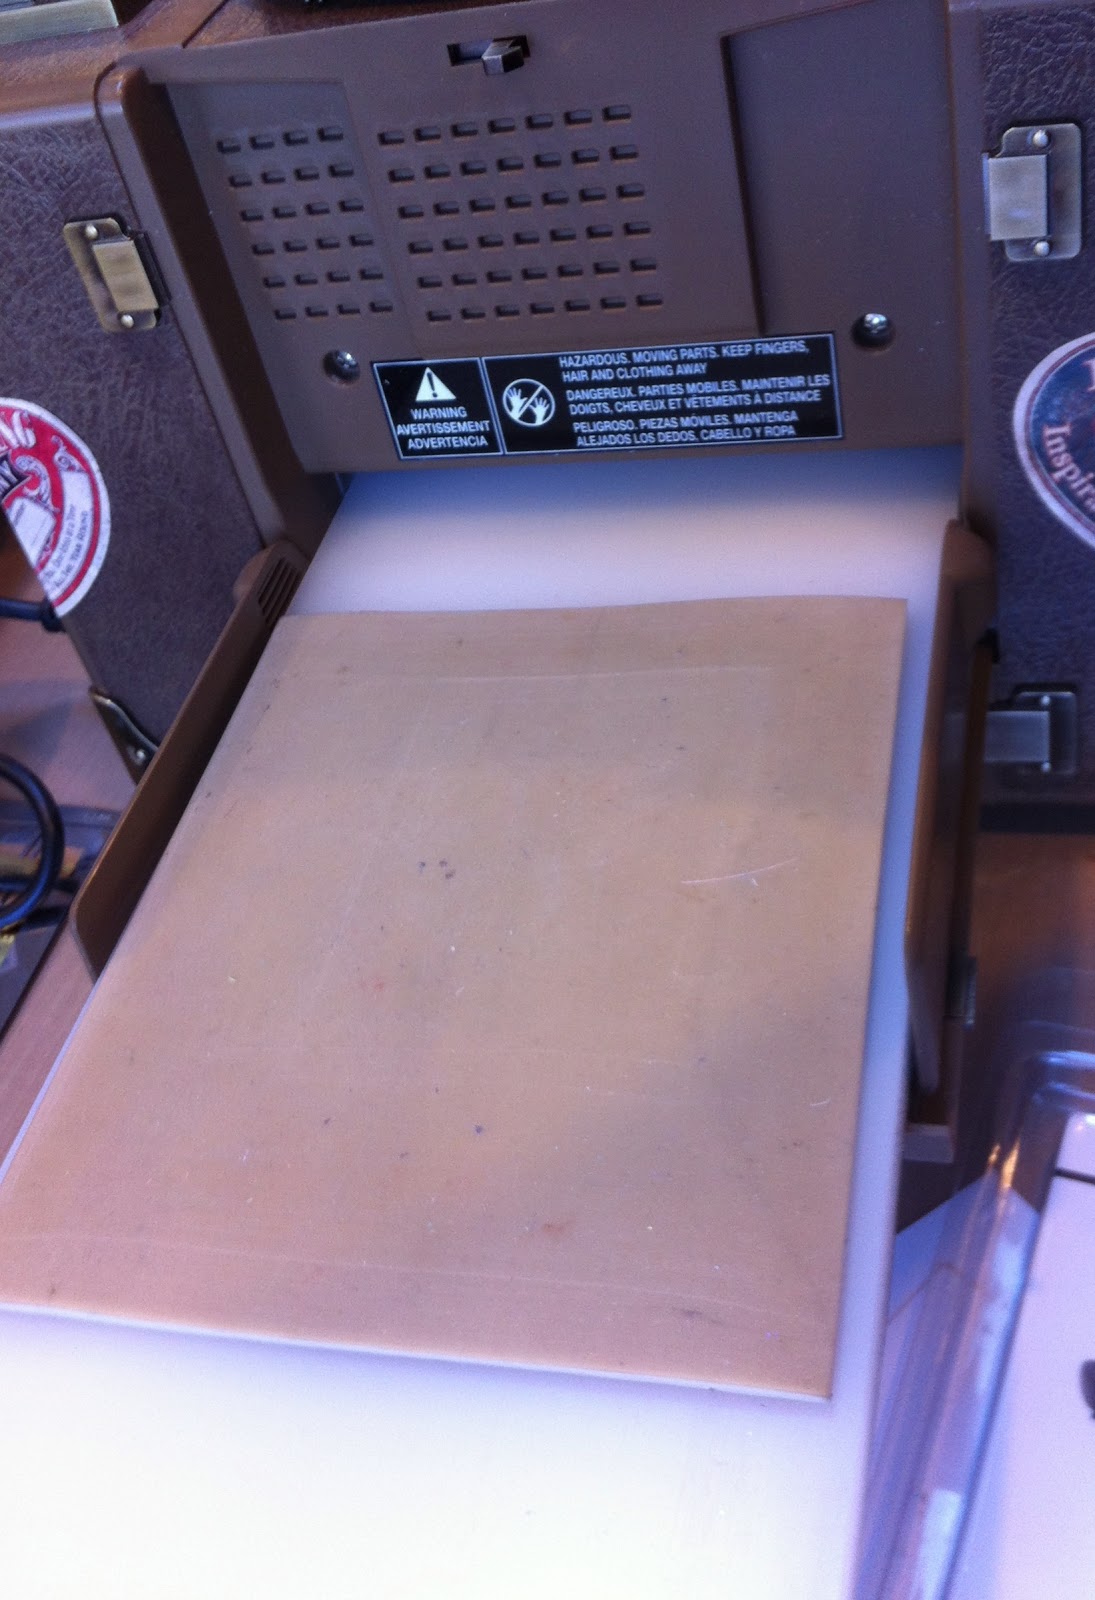
Place the rubber embossing mat over the grid and paper

Place two clear cutting mats over the grid and paper and run thru the machine

Here's the back of the embossed grid

Turn the embossed image to the front and tape the grid stencil back in place
 
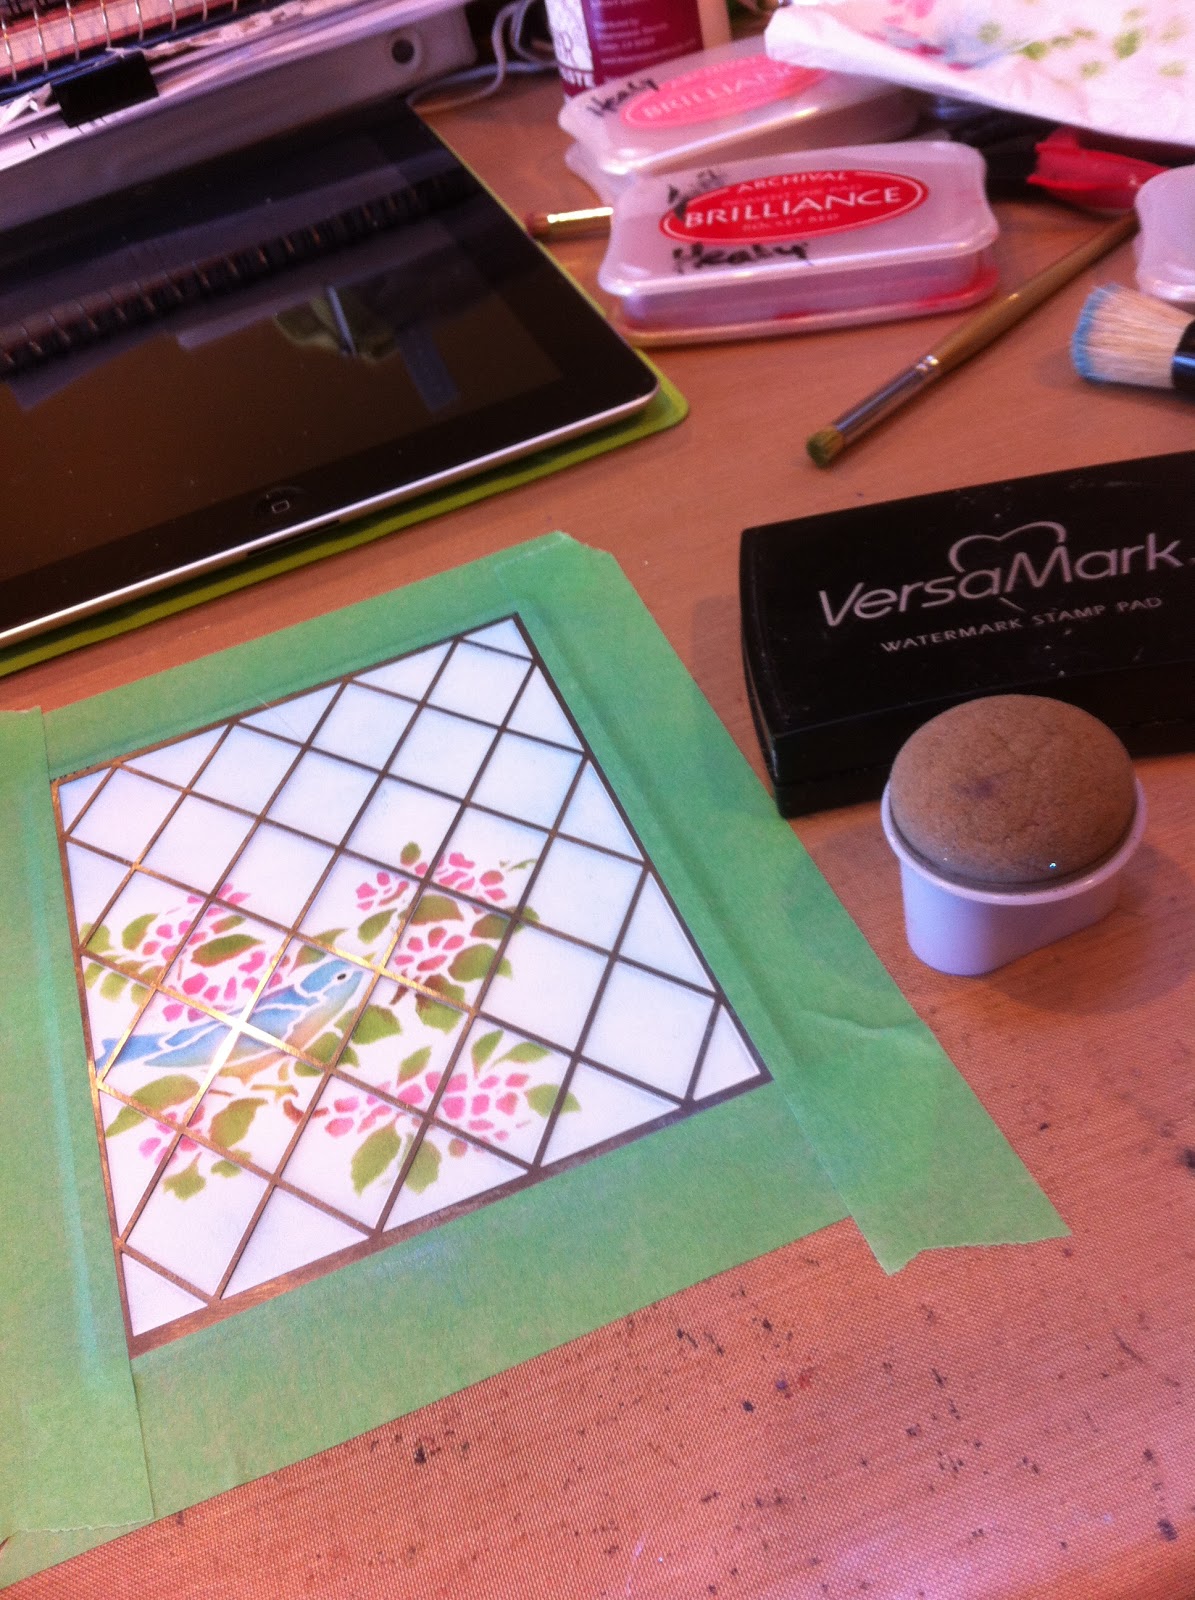
Use small pieces of removable tape to cover the frame portion of the Birds & blossoms (LG646) stencils

Tape the bird to the lower left side of the grid stencil
Use small stencil brushes to add color to the bird design
Remove the Bird & blossoms stencil


Use a larger stencil brush to add some light blue in the background


Use a finger dabber to add VersaMark ink over the entire grid

Remove the grid stencil and cover with Clear Embossing Powder,
heat to set

Return the grid stencil, add another coat of VersaMark and Clear Embossing Powder,
heat to set

Mount into a beautiful card and add some gorgeous ribbon from May Arts!
 
Close up of the tile
I hope you enjoyed learning about this great technique. The rest of the team have more great creations for you, so please check out their blogs too!

Happy Creating,
Louise