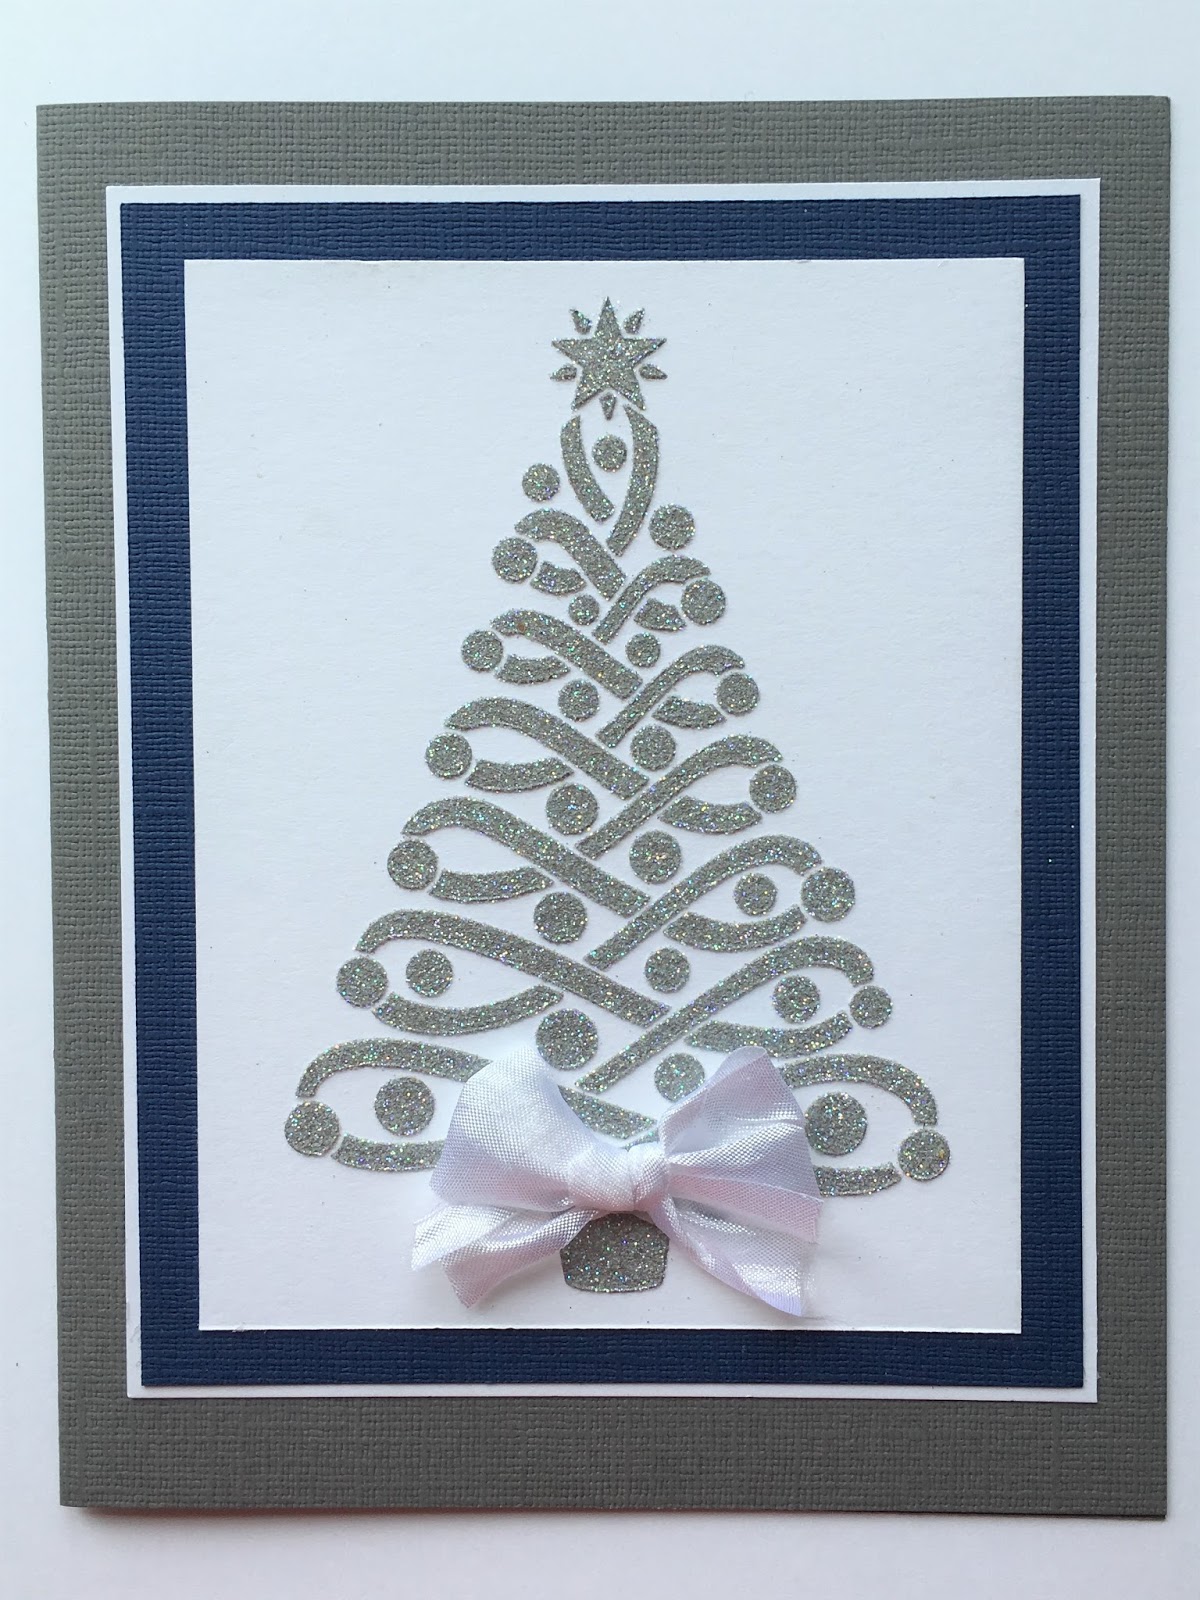
This week the Stampendous Design Team is sharing some the beautiful tree images from Stampendous. This simple, yet elegant, Christmas card will take you hardly anytime and will impress everyone!
Stampendous:
GL220U Crystal Glitter
MPW811 Mixed Media White Paper
MPW811 Mixed Media White Paper
Dreamweaver:
DWLG651 Christmas Tree
DWDSP Silver Embossing Paste
DWDSP Silver Embossing Paste
DWDPK Dreamweaver Palette Knife
DWLM2010 Paste Spreader
DWLM2010 Paste Spreader
Plus:
My Color Cardstock - Cloak Gray, Deep IndigoRemovable Tape
Creative Impressions 3/4" White Crepe Ribbon 70132
Craft Glue Dots
Instructions:
Step 1: Fold a 6" x 9 1/2" piece of Cloak Gray cardstock in half to form an A6 card
Step 2: Cut a 4" x 5" piece of Deep Indigo paper, adhere it to a 4 1/8" x 5 1/8" piece of white, then to the card front
Step 3: Tape the Christmas Tree stencil to a 3 1/2" x 4 1/2" piece of white paper with removable tape
Step 4: Use a palette knife and paste spreader to apply Silver Embossing Paste over the design, remove stencil and place in water for cleaning later, sprinkle the wet paste with Crystal Glitter, tap off extra, let paste dry
Step 5: When the paste is dry, adhere the tree to the card front on the blue mat
Step 6: Tie a small white bow, adhere near the bottom of the tree with a Craft Glue Dot
Louise
7 comments:
Beautiful. Love the glitter. 💗💗💗
Very pretty. Love the paste and glitter. [Bunny]
What a beautiful card.
What a beautiful card.
Breathtaking and so easy to create! TFS!
Love your beautiful sparkly tree.
This is lovely.
Post a Comment