Thursday, March 26, 2015

Making Texture Blog Hop Day 5!


We have a different sort of collaboration for you!

At Stampendous we’re very excited to be able to offer our products in many countries around the world. We’re able to do this thanks to our terrific distributors in those countries who help retail stores to stock our products. In the UK we have a very long and valued partnership with Woodware Craft Collection. These wonderful folks stock almost all of our products, and they even stock several classic items that have retired from our store here in the US. They also stock almost all of our new Dreamweaver Stencils line, so we thought it would be another great event to celebrate the addition of Dreamweaver to the Stampendousfamily.

This week we’ve been celebrating with the awesome Woodware Design Team and the Dreamweaver Stencils Dream Team all of the the great Stampendous and Dreamweaver Stencils products thatWoodware makes available to the UK market. This is good news for our crafty friends in the UK because we’ll be offering prizes and our UK friends are eligible to win!! We’ll be offering three prizes in the UK and three in the US. Each prize package will consist of  Nathalie Kalbach’s terrific Grunge Mixed Media Cling Rubber Stamp Sets and the beautiful Zen Butterfly Dreamweaver Stencil! Both products are ideal for adding texture and backgrounds to your projects!

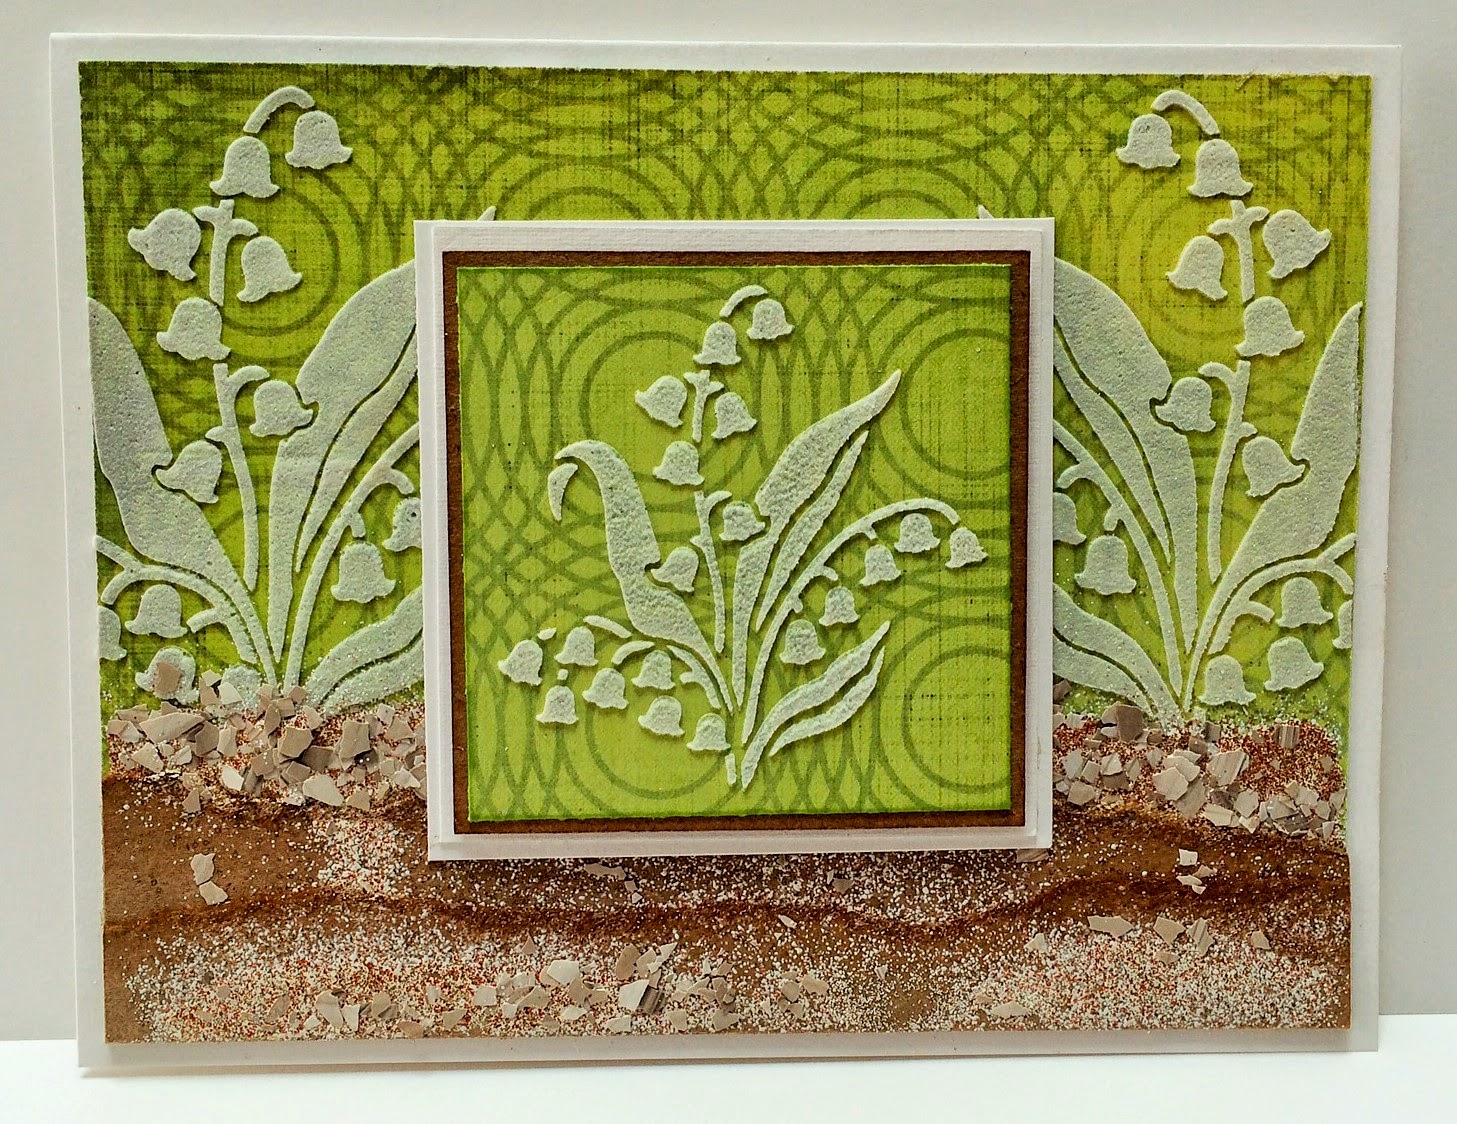
And that’s our theme!! Making Texture. For our final day I've created a "sea" of texture for your! Here it is:

"A Sea of Texture"
Here are the steps I used to create this fun Birthday card:
Choose your stencils and cut paper about the same size as the stencil.
Tape them down. Notice the seahorse stencil is placed sideways so that when I apply embossing paste, I will be applying it in the direction of the small bridges, not against them. This gives you less chance of getting paste under the bridges.
I used Dreamweaver Regular Embossing Paste (matte white) with a little Just Peach F/X Powder to create a very light orange paste. I applied it to the two shells, the starfish, and the seahorse. You can see it doesn't take very much paste to create several images. The left over was put in a jar I keep of various colors I've created, it's great for mixed media projects.
After removing the stencils, I sprinkled the two shells, LM104 Nautilus and LM106 Scallop, with a little Stampendous Golden Sand embossing Powder. I also added a little crushed up Fran-tage taupe color fragements on the Nautilus. Both were heated from below first, then on top.
LM181 Seahorse and LM209 Starfish were sprinkled with Fran-tage shabby pink embossing enamel, excess tapped off, then the starfish had a little Golden Sand embossing powder added to the open areas. Both were heated from below first, then above.
I colored more paste with some Kiwi FX Powder for the LM179 Sea turtle, but before removing the stencil, I took a piece of crumpled paper towel and gently dabbed on the paste to give it more texture. When I took the stencil off, I used a soft brush to scatter more Kiwi FX Powder on the paste, heated the whole image, then used a Swiffer cloth to buff off the extra powder. He's pretty cool, the shell looks so "knobby"!
Cut everything out, create a background with a wash of blue ink on watercolor paper, use blue and brown ink to stencil the seaweed pattern in the background (sorry, I used LG679 which I realize now is no longer available), die cut some "coral" using LX7020 Leafless Tree die and light colored cardstock. After laying everything out, I decided it needed a little something else, so I stamped "from all of us" from the Birthday Wish set (SSC1115), the one of the sayings on the inside of the card.
We hope you’ve enjoyed the wonderful inspiration that three talented teams have brought you this week! Be sure to visit all the blog links listed and leave your comments! Each comment will count as an entry towards one of the terrific prize packages.
Check out all these great designers!

Marching into Spring Week 4!

See the links below for the DW/Stampendous/Woodware hop!

Ready for fresh air, sunshine, new leaves, and flowers blooming? Well, the Dream Team is right there with you! Our challenge for the month of March is...coincidentally...Marching into Spring. Per usual, we'd love to have you play along with us, and link your own creations to theInlinkz tool on the Dream It Up! blog, or at the bottom of this post. Play as many times as you'd like. Those of you who work Dreamweaver and/or Stampendous products into your projects receive bonus points, but everyone has an opportunity to be the winner who receives the stencil of their choice.

A sure sign of Spring is Easter, and with Easter only a week away, I decided that a fun Easter card was the perfect way to end this month's challenge.

Here's my hint of Spring, Easter style:

Easter egg stencil - LG685
Double-glitter technique
You can't make an Easter card without glitter! The Dreamweaver Easter egg stencil (LG685) is perfect for the beautiful Double-glitter Technique. The stencil is actually egg-shaped, so you get a nice "frame" of glitter too. Here's how you do it:

  • Cut a piece of Dreamweaver Double-sided mounting paper (MPDS) a little larger than the stencil
  • Cut a piece of colorful cardstock an 1/8" each direction larger than the MPDS
  • Remove the release paper from one side of the MPDS and center it on the cardstock
  • Place the stencil face down on a paper towel and gently rub the back with Dreamweaver Handmade Hawaiian Soap (DHHS) making sure to go over all the back
  • Use a large stencil brush to brush away any flakes of soap from the openings
  • Remove the top piece of release paper from the MPDS and place the stencil, soap side down, on the sticky surface
  • Use a piece of release paper to press the stencil firmly on the sticky paper
  • I used Stampendous fran-tage micro glitters (Lavender, Orange, Pink and Teal) to "color" my egg
  • To remove the stencil, turn the glittered image face down on a clean surface and gently peel the paper off the stencil, making sure to keep the stencil flat on the surface
  • Sprinkle the exposed sticky paper with Crystal micro glitter to finish off the design
  • Mount on a cute paper, add a pretty bow, and you've got a great Easter card!
When I first finished the card it didn't have the bow and looked like this:


Pretty, but I felt like it needed a little something, hence, the bow. Which do you like?  Also, after I finished glittering, I decided to add a second layer to the flowers because I had gotten a little Teal glitter in the pink flowers. I like the dimension the additional layer gives.  Here's a close up:


The links for DW/Stampendous/Woodware
Happy Creating,
Louise

Tuesday, March 24, 2015

Making Texture Blog Hop Day 3!


We have a different sort of collaboration for you!

At Stampendous we’re very excited to be able to offer our products in many countries around the world. We’re able to do this thanks to our terrific distributors in those countries who help retail stores to stock our products. In the UK we have a very long and valued partnership with Woodware Craft Collection. These wonderful folks stock almost all of our products, and they even stock several classic items that have retired from our store here in the US. They also stock almost all of our new Dreamweaver Stencils line, so we thought it would be another great event to celebrate the addition of Dreamweaver to the Stampendousfamily.

This week we’re going to celebrate with the awesome Woodware Design Team and the Dreamweaver Stencils Dream Team all of the the great Stampendous and Dreamweaver Stencils products thatWoodware makes available to the UK market. This is good news for our crafty friends in the UK because we’ll be offering prizes and our UK friends are eligible to win!! We’ll be offering three prizes in the UK and three in the US. Each prize package will consist of  Nathalie Kalbach’s terrific Grunge Mixed Media Cling Rubber Stamp Sets and the beautiful Zen Butterfly Dreamweaver Stencil! Both products are ideal for adding texture and backgrounds to your projects!

And that’s our theme!! Making Texture. 
Here's what I "texturized" today:


  • Use the Creative Palette from Stampendous (I have the Rectangles one) to add layers of acrylic paint with a brayer
  • Add designs with stamps or stencils
  • Press a piece of Stampendous Mixed Media White Paper over the paint and rub gently
  • Add another layer of paint to the palette
  • Use a stencil or stamp to press into the design and "lift off" some color and create a design. I used LX7024  Zen Flower to create a design
  • Press your paper again
  • Keep playing until it looks awesome!
  • It did several pieces because it's highly addictive!
  • On one background, I laid the Zen Flower stencil and pasted with Dreamweaver Translucent Embossing Paste, removed the stencil and placed it in water for cleaning later
  • While the paste was still wet, I sprinkled it with a combination of Stampendous aged silver embossing enamel and a little Jeweled gold, let the paste dry, then heated the powders (although I think it would have been neat to heat right away too and have gotten more of the Molten Magic look for even more texture!)
  • I took a left over scrap of background paper and laid the Zen Flower on it and outlined the center openings with a Black Micro 02 pen
  • Cut out the to flowers, adhere them to yellow cardstock and recut around the edges
  • Layer into a beautiful card, embellished with some May Arts Ribbon
We hope you’ll enjoy the wonderful inspiration that three talented teams will bring you this week! Be sure to visit all the blog links listed and leave your comments! Each comment will count as an entry towards one of the terrific prize packages.


Happy Creating,
Louise

Thursday, March 19, 2015

Marching into Spring Week 3!

Ready for fresh air, sunshine, new leaves, and flowers blooming? Well, the Dream Team is right there with you! Our challenge for the month of March is...coincidentally...Marching into Spring. Per usual, we'd love to have you play along with us, and link your own creations to theInlinkz tool on the Dream It Up! blog, or at the bottom of this post. Play as many times as you'd like. Those of you who work Dreamweaver and/or Stampendous products into your projects receive bonus points, but everyone has an opportunity to be the winner who receives the stencil of their choice.

Here's my hint of Spring:

Lily o'valley (LL370 & LM140)
I just love Lily of the valley plants. They are a sure sign that spring is in full swing. My poor little ones are still deep under a blanket of snow, but once that's gone, it's amazing how fast they will grow. This card was so easy.

  • Simply paste emboss the larger Lily o'valley (LL370) stencil towards one side of some decorative cardstock with Regular Embossing Paste
  • Remove and clean the stencil, dry it well
  • Turn the stencil over and paste it on the other corner of the cardstock
  • Set that piece aside to dry
  • Paste the smaller version (LM140) on a matching square of decorative cardstock and let that dry too
  • Tear a couple of layers of kraft colored cardstock, rouge the torn edge with some brown ink and layer them along the bottom of the large images
  • Sprinkle some Stampendous Golden Sand Embossing Powder and some Taupe fragents across the kraft cardstock
  • Heat from below to set the powder and fragments, it really looks like a garden bed!
  • Layer the larger images on a white card
  • Layer the smaller image on some kraft, then use foam tape to add it to a layer of white
Welcome Spring! (in a couple of days anyway!)

A parting thought...I was thinking about going back and adding a little Crystal glitter or Stardust pen to the "bells" of the flowers. What do you think? Should I or shouldn't I?
The "A" team would love to share their interpretations of this theme:

Louise Healy


Happy Creating,
Louise

Thursday, March 12, 2015

Marching into Spring Week 2!

Ready for more fresh air, sunshine, new leaves, and flowers blooming? Well, the Dream Team is right there with you! Our challenge for the month of March is...coincidentally...Marching into Spring. Per usual, we'd love to have you play along with us, and link your own creations to theInlinkz tool on the Dream It Up! blog, or at the bottom of this post. Play as many times as you'd like. Those of you who work Dreamweaver and/or Stampendous products into your projects receive bonus points, but everyone has an opportunity to be the winner who receives the stencil of their choice.

The surest sign of Spring around here is the peeking up of Daffodil leaves from out of the snow. It's always heartwarming to see how tough they are when it's still so cold out. Hopefully, I'll be seing my Daffodils popping out of the snow soon! Here's my hint of Spring:

LL428 - Long daffodils 
Matte Yellow Embossing Paste, let dry, stencil with inks on the inside of a window card
Add a beautiful ribbon from May Arts

The inside, see how the ribbon adds a nice touch to the inside too!
Just cut a small slit in the fold and feed the ribbon through.

Of course, a matching envelope always looks great!
A lot of times when I'm making cards, I leave a sentiment off until I know how I'm going to use the card. This card would make a wonderful Sympathy card with a pretty saying added to it, but it would also be a beautiful birthday card for a friend with a Spring birthday. That's the joy of working with these products, they are so versatile!

The "B" team would love to share their interpretations of this theme:

Louise Healy

Happy Creating,
Louise

Thursday, March 5, 2015

Marching into Spring!

Ready for fresh air, sunshine, new leaves, and flowers blooming? Well, the Dream Team is right there with you! Our challenge for the month of March is...coincidentally...Marching into Spring. Per usual, we'd love to have you play along with us, and link your own creations to theInlinkz tool on the Dream It Up! blog, or at the bottom of this post. Play as many times as you'd like. Those of you who work Dreamweaver and/or Stampendous products into your projects receive bonus points, but everyone has an opportunity to be the winner who receives the stencil of their choice.
Here in IL we could certainly use a little Spring. We still have about 8" of snow on the ground and the temperature is in the teens this week. I am looking forward to the warmer days of Spring!

Here's my hint of Spring:


To create this card, I used Regular Embossing Paste (it dries with a matte white finish) on the LS96 Hello and LM293 Spring stencils on a lime green paper and let them dry. While those were drying, I stenciled the LS94 Bird on a branch stencil using 1/4" stencil brushes and ink pads. Mount everything at some jaunty angles to create a "fun" feeling card, add a little May Arts ribbon and a coordinating button and "ta da!" a great card for Spring!

The "A" team would love to share their interpretations of this theme:

Louise Healy


Happy Creating,
Louise