This week I will show you the Faux Tile technique. It's fun and can be done with virtually any stencil. Here we go:
 |
| Place the Diamond Grid (LJ882) stencil on the large platform of your die cut machine |
 |
| Lightly mist your paper with water or alcohol and tape over the grid |
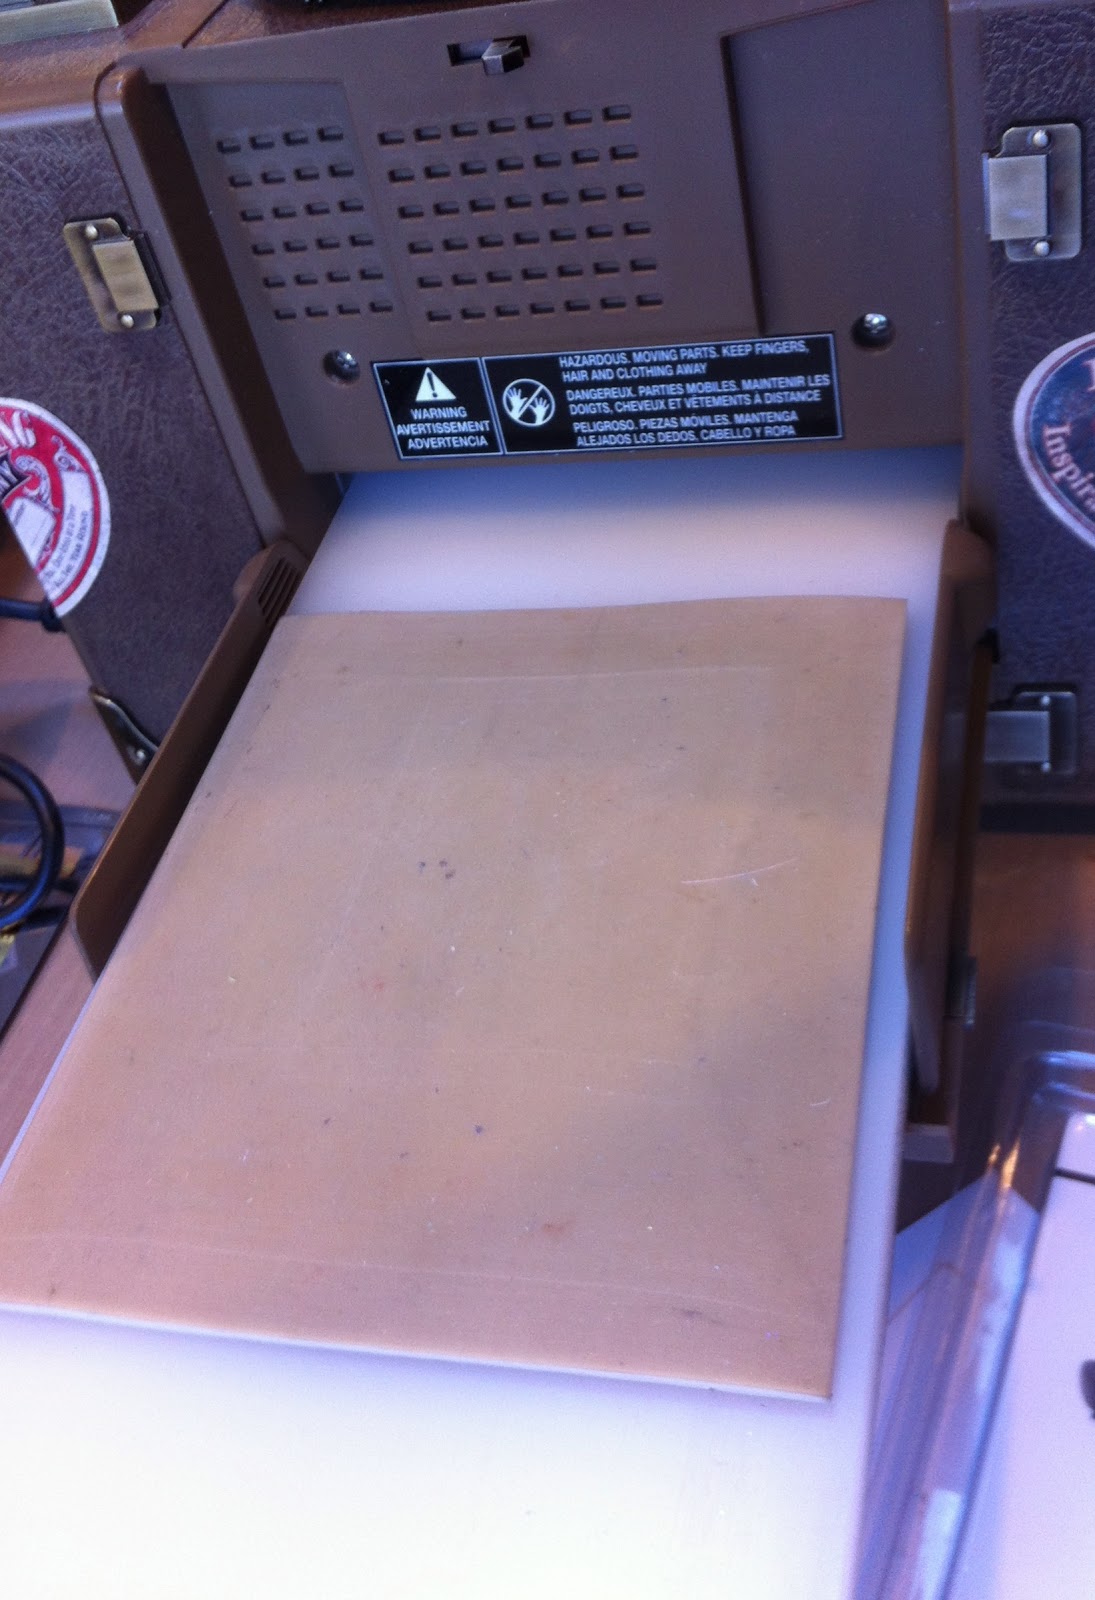 |
| Place the rubber embossing mat over the grid and paper |
 |
| Place two clear cutting mats over the grid and paper and run thru the machine |
 |
| Here's the back of the embossed grid |
 |
| Turn the embossed image to the front and tape the grid stencil back in place |
 |
| Use small pieces of removable tape to cover the frame portion of the Birds & blossoms (LG646) stencils |
 |
| Tape the bird to the lower left side of the grid stencil |
 |
| Use small stencil brushes to add color to the bird design |
 |
| Remove the Bird & blossoms stencil |
 |
| Use a larger stencil brush to add some light blue in the background |
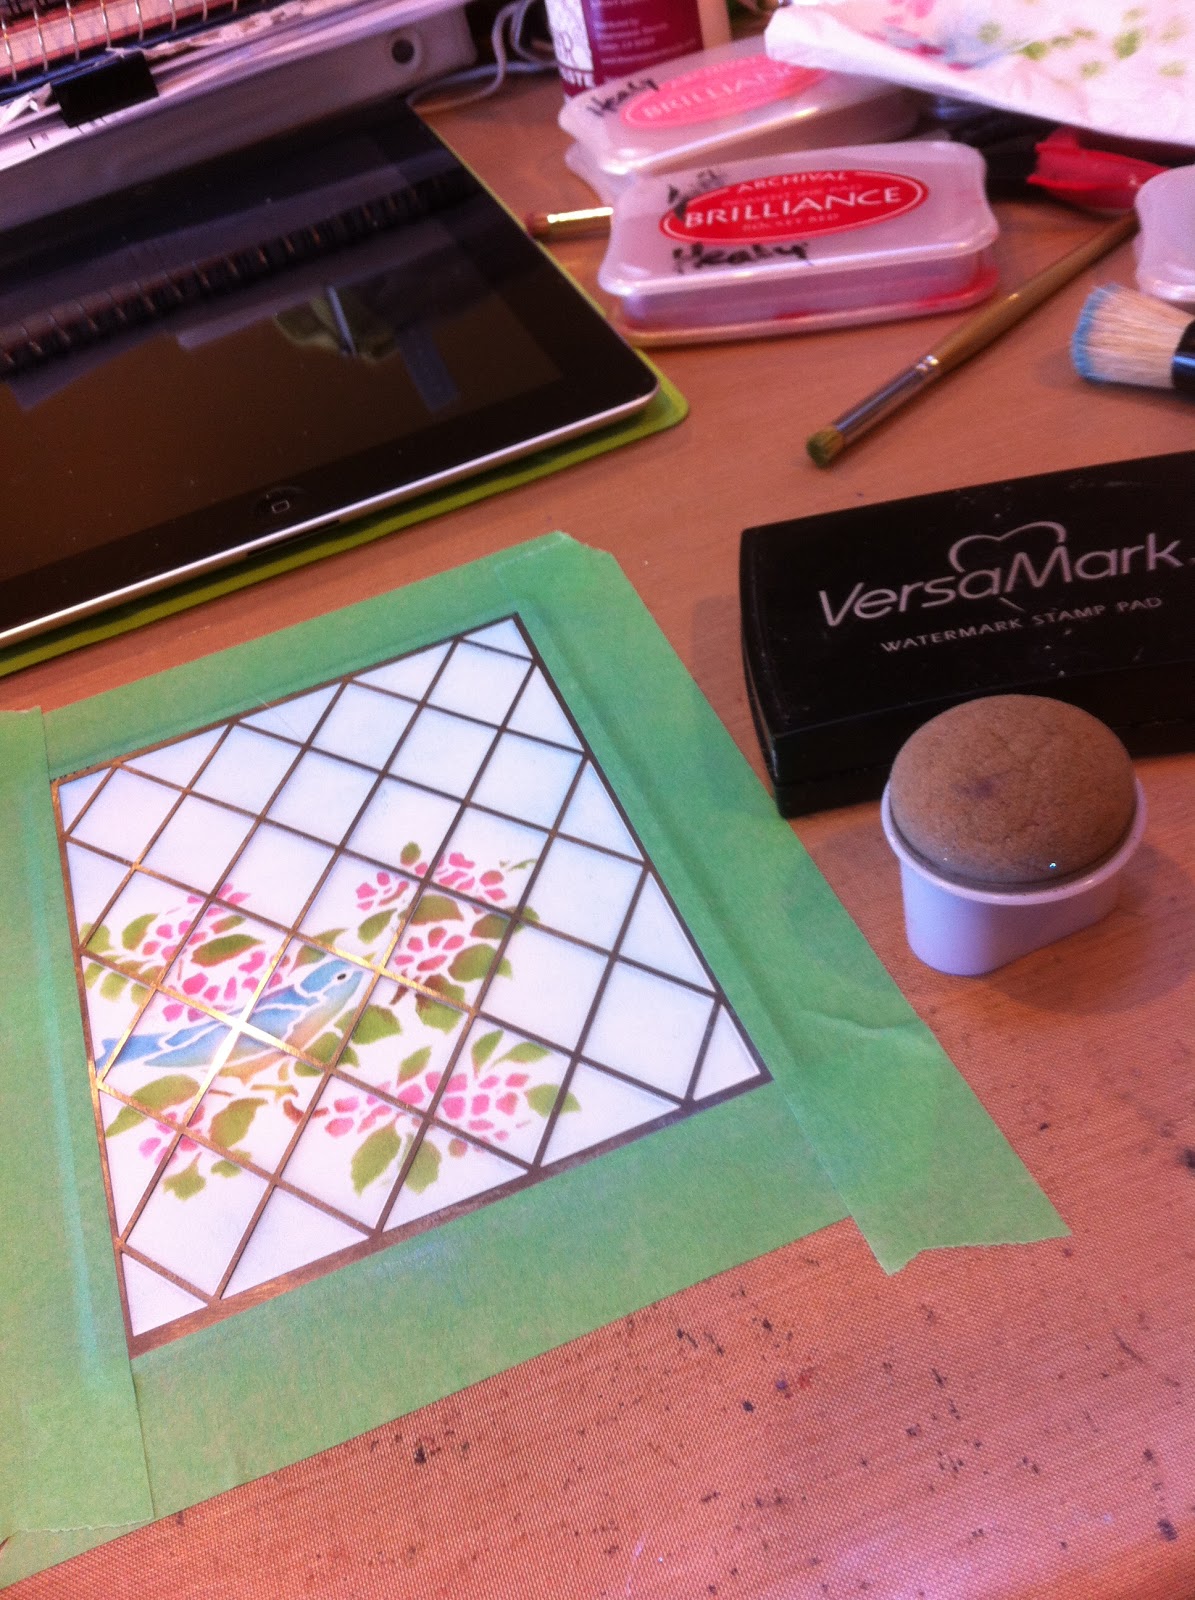 |
| Use a finger dabber to add VersaMark ink over the entire grid |
 |
| Remove the grid stencil and cover with Clear Embossing Powder, heat to set |
 |
| Return the grid stencil, add another coat of VersaMark and Clear Embossing Powder, heat to set |
 |
| Mount into a beautiful card and add some gorgeous ribbon from May Arts! |
 |
| Close up of the tile |
Happy Creating,
Louise
