Tuesday, January 24, 2012

Dreamweaver Sneak Peeks Day 2

I hope day 1 of our Dreamweaver Stencils sneak peeks got you excited for more great designs. Don't forget we will be posting new images everyday this week leading up to CHA. I can hardly wait to be there, it is so inspirational and really gets your creative juices flowing!
Today I want to share the beautiful new Cherry Blossom shape (LL3024). It is absolutely stunning!
Hope you like it.

As always, hop on over to the rest of the team blogs for more great peeks.

Have you finished your design for the contest yet? You still have until the end of the month to  join our January challenge for the chance to win a great prize. Just click on the DREAM it UP! link in the list above.
Happy Creating,
Louise

Monday, January 23, 2012

Let the peeks begin!

As we promised last week, the Dream Team has put together some sneak peeks for you of the new stencils being released next week by Dreamweaver Stencils at CHA in Anaheim California. Follow the list below to hop to each blog and see some of the fabulous new designs. We will be posting something new each day this week so you will get a chance to see the 17, YES 17!! new designs.
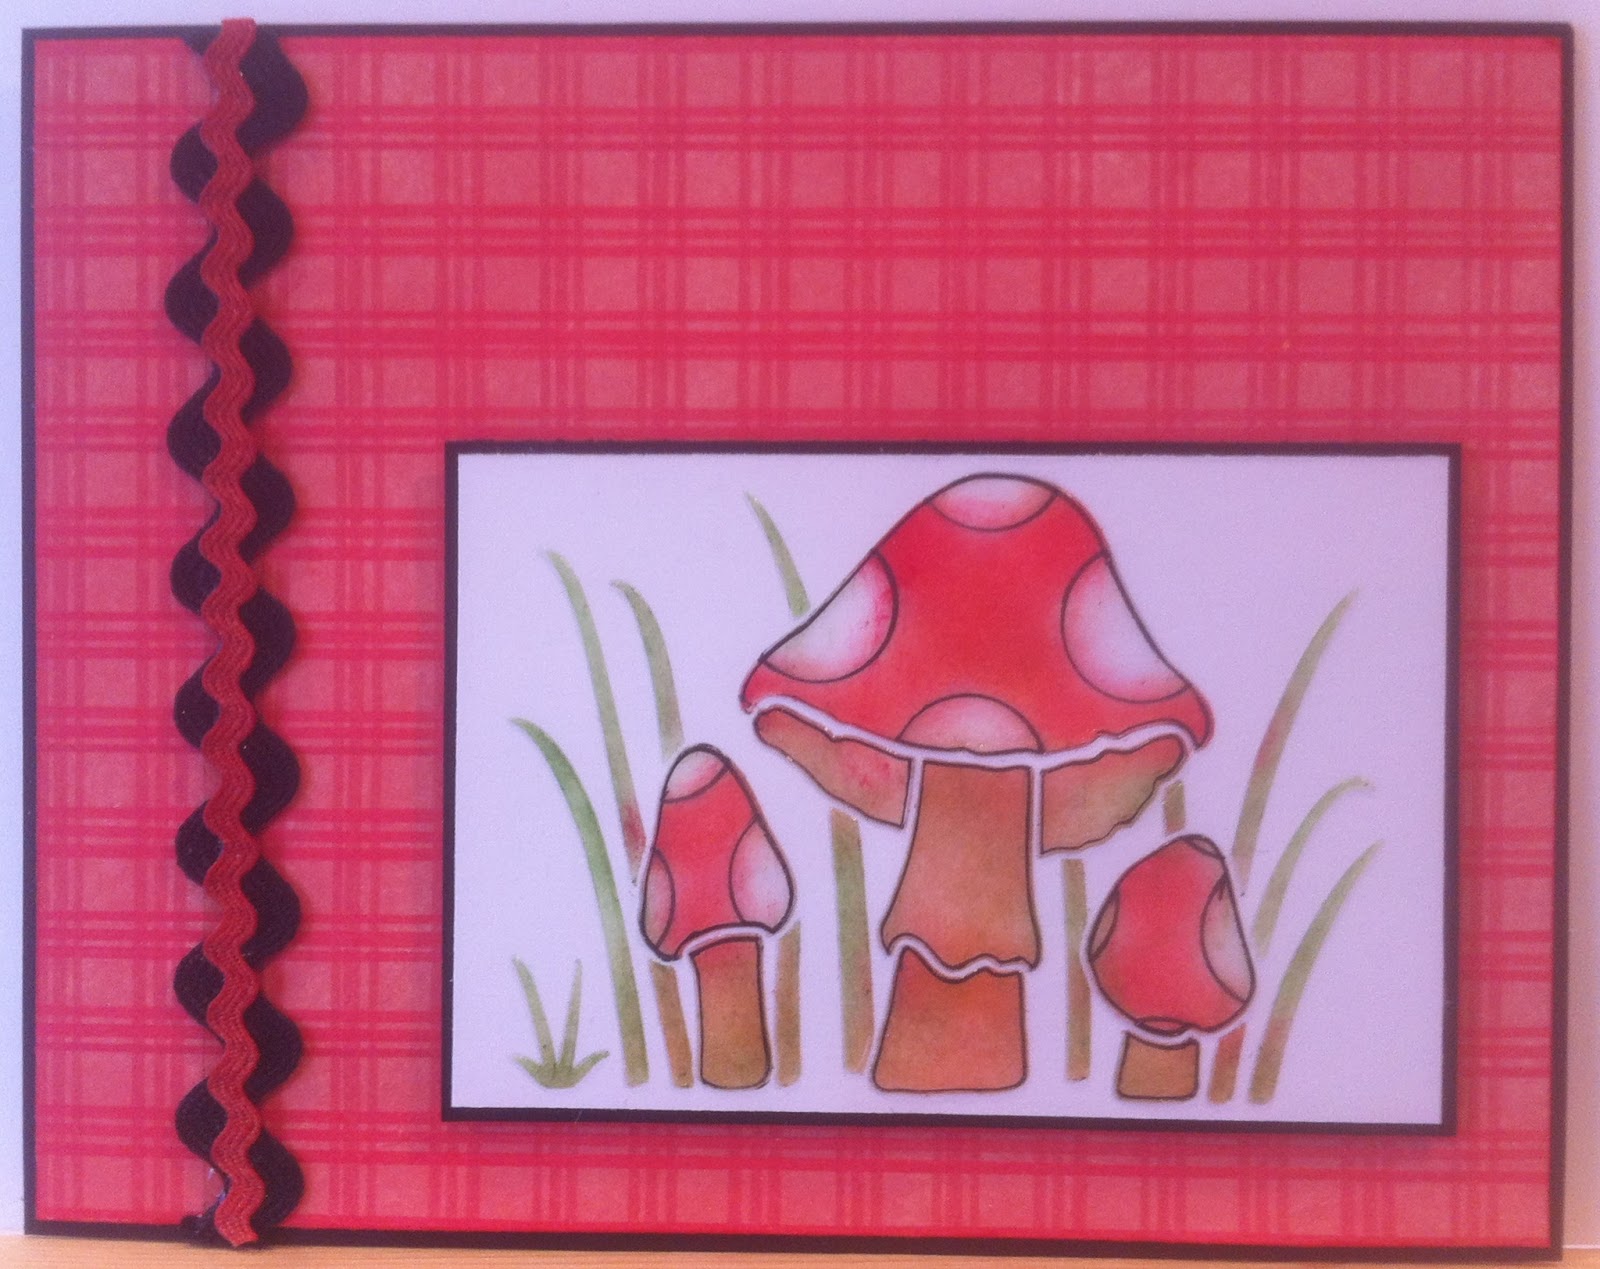
Today I am excited to share the new Mushrooms stencil (LL3025). It is just adorable, and looks great in a variety of techniques. Here are a few ways I used it:


Did you wonder how I got the pattern on the purple mushrooms? Well that's another great new background stencil called Pinwheel Checkerboard (LX7013). And the big dots on the middle mushrooms are from the new Big Dots (LX7011) stencil (you'll see that again this week!). AND...that great new Paisleys (LX7009) background is fabulous too!! So you really got to see FOUR of the new stencils. Stayed tuned each day this week for more SNEAK PEEKS!
Now check out the rest of team blogs:


Last but not least, remember, there is still time to enter your creation in this month's contest over at Mr. Linky on the DREAM it UP! blog.  Just create a Valentine's card hopefully using Dreamweaver Stencil products (but that is not a requirement) and add a link to your card. You have until the end of the month, and you can enter multiple creations so your chances get better and better!

Happy Creating,
Louise

Thursday, January 19, 2012

Love is in the air

Here we are at week three of the Dreamweaver Stencils January Valentine challenge and the Dream Team is excited to bring you more great ideas for Valentine's Day cards. Don't forget you have a little more time to enter your creations in this month's contest at the DREAM it UP! blog to win a great prize.
Starting next week our team will be sharing some sneak peeks of the beautiful new stencil designs that will be released at CHA at the end of January. They are fabulous and you'll love what the team has created with them.
Here's what I created for this week, I hope you enjoy it.


This is one of my favorite techniques, it is easy and gives a beautiful pastel look to your design. I started by taping the Heart whimsy stencil (LL599) on white cardstock, then used small stencil brushes to color the image using Brilliance Rocket Red ink and Brilliance Thyme ink. After coloring, I gently wiped off the stencil before applying the Regular Embossing Paste (matte white) over the image. After removing the stencil, I sprinkled the whole thing with Crystal glitter. When the paste was dry, I mounted it on a green mat and mounted it with foam tape to the front of matching card.

Be sure to check out the other team member blogs for more great creations. Just click on their names below.

Happy Creating,
Louise

Thursday, January 12, 2012

More Valentines...

Welcome to the continuation of  Dreamweaver Stencils' January challenge. During the month of January, the Dream Team has been given the challenge of creating Valentines Day themed cards. If you missed last week's posts, be sure to browse back through the various designer's blogs to see those beautiful creations too. Dreamweaver is also sponsoring a contest for you to participate in throughout the month, click here for instructions of how to submit your creation and possibly win a great prize.
We automatically think "red" when Valentines Day is mentioned so this week I decided to create a Valentines Day card in a non-traditional color scheme. Here's what I created:

Start by taping the Heart background stencil (LJ833) on white cardstock with removable tape. Use the Paste Spreader (LM2010) to apply Glossy Blue Embossing Paste across the design. Remove the stencil and immediately sprinkle the wet paste with Crystal glitter. Set the glittered image aside to dry, clean and dry your stencil. Next tape the Lovebirds heart stencil (LL3011) to white cardstock and apply Glossy Blue Embossing Paste across the design. Remove the stencil and sprinkle the image with Art Glitter Ice Ultrafine glitter. Set the Lovebirds aside to dry, clean and dry your stencil.
When both images are dry, adhere the Heart background to blue mat and add a white ribbon near the bottom. Adhere that layer to a white card. Use a craft knife to carefully scrape some of the glitter off of parts of the birds to reveal the blue paste again. Punch the corners with a ticket punch, edge with a blue marker, and adhere to the card with foam mounting tape. A very easy card that definitely suits the occasion.
Supplies: LJ833, LM2010, LL3011, Glossy Blue Embossing Paste, Crystal glitter, Ice glitter, blue marker, ticket corner punch, foam tape, white and blue cardstock, white ribbon

Be sure to check out all this weeks creations by clicking on each designers name below

 Happy Creating,
Louise

Thursday, January 5, 2012

New Year, New Challenges....

Welcome to the first posting of the Dreamweaver Stencils' Dream Team 2012 ! We're changing things up a bit for this year, and YOU can help. The first Thursday of every month will feature our new challenge and will extend through the entire month. This means that YOU have ALL month to play along with the one challenge, as many times as you want. Sometimes it will be a color challenge, sometimes a theme, and sometimes a technique. We are hoping that an entire month will give you plenty of time to be inspired, create, and link to the Dream It Up! blog . Each month we are offering TWO prizes...one for the most creative version of the challenge (does not have to be Dreamweaver Stencils ' product, but we sure are happy when it is!), and the second for the best use of Dreamweaver Stencils ' product in the challenge. This could be stencils (of course), Embossing Pastes , Metallic F/X , the new Color Solutions , etc., anything you find on the Dreamweaver Stencils' web site , or in your local store. Don't know where your local store is? The list can be found on the web site . Not near any of the stores listed? There is also an online site to purchase from, Stencil with Style !
For the month of January, we challenge you to create something for Valentine's Day! You have until January 31st, 11:59 PM EST, to post and link your creation(s) to the
Dream It Up! Blog Mr. Linky. The winners will be announced February 2nd, along with the February challenge.
Here is my first creation for this month's challenge:
This simple technique is very versatile and looks great with any stencil.  I started by taping the Swooshy Heart stencil (LL3010) to white cardstock. Put a small amount of Pearlescent Embossing Paste in a container and mix in a little Pixie Blush F/X powder (FX09). Apply the pink paste to the heart stencil, remove and clean the stencil. When the paste is dry, layer it on coordinating cardstock. But don't forget the inside of the card, that needs to look beautiful too!  Here's what I did to create a Valentine's card, but by changing the inside, this could easily be made into a wedding, anniversary or birthday card.

The Large flourish stencil (LJ896) was stenciled in the corner with a 1/4" stencil brush and Brilliance Coral ink. The You & Me stencil (LS1004) was also stenciled with the Coral ink, and a little Brilliance Coffee Bean at the edges. Layer the saying to match the outside layers.

SUPPLIES: LL3010, Pearlescent Embossing Paste, Metallic F/X powder Pixie Blush, , LJ896, LS1004, Brilliance Inks Coral and Coffee Bean, 1/4" stencil brushes, White, pink, dark brown, and patterned cardstock, foam mounting tape.

We'll post new ideas each week based on the monthly challenge, so be sure to check back regularly to see what else we've created, but for now please visit the rest of our fabulous team listed here:


We hope you'll enjoy our new format and will be inspired to play along each month.  Don't forget that Dreamweaver Stencils will be releasing some great new stencils at CHA at the end of January, we can hardly wait to share them with you!

Please notice my new Class Schedule listing on the top right side of my blog. It will list all my upcoming classes with links to the store websites.
Happy Creating,

Louise

Thursday, December 29, 2011

Ringing in the New Year!

Christmas is over, the cookies are almost gone, the kids have headed home, mountains of towels and sheets have been washed, the house is almost back to normal, wow how I miss it all!   I just love having my family home for the holidays.  But now it's time to ring in the New Year, so that's the theme I used to create this week's design for the Thursday Dream Scheme free challenge from Dreamweaver Stencils.
Enjoy:
I started by taping the Vertical Bells (LL497) to blue cardstock and applying Metallic Silver Embossing Paste (DSP). After removing the stencil, sprinkle the wet paste with Crystal glitter. While the paste is drying, emboss another piece of blue cardstock with Swirls (LJ863) through a die cut machine. Remove the cardstock and gently sand the design so the image shows. Layer the dark blue pieces on metallic silver pieces and mount them on a dark blue card.
Wishing everyone a Happy New Year in 2012! Thank you for your support this past year. I can't tell you how much it means to me to read your supportive comments. Keep watching for some changes coming in the new year. I'll be adding Twitter and Facebook links to make it easier to follow our great team whenever you have a minute. We've also welcomed our new team members, so be sure to stop at their blogs for even more great ideas.
Here's our new list of members, just click on their names to hop to their blogs:

Watch the DREAM it UP! blog for monthly opportunities to win some great prizes too!
Happy Creating,
Louise

Thursday, December 22, 2011

Merry Christmas!

It's hard to believe that Christmas is only 3 days away! It has been a wonderful week with all of my kids home for the holidays. With them spread all over the country, it is fabulous to have everyone together for 10 days. However, it definitely means that I don't get quite as much time in my craft room.
This week's Dreamweaver Stencils Thursday Dream Scheme was a burgundy and gold challenge. I took a little liberty with this one and used one of my favorite cards from a Christmas past. I hope you enjoy it.

This was very simple.  Apply black matte paste on a metallic shimmer cardstock over the Partridge in a Pear Tree stencil (LG695). Let it dry about 10 minutes then brush with metallic FX powders to color the image. Mount on decorative papers, and tada! a beautiful card in no time at all. Can you see my burgundy and gold? The pot is burgundy and the background is gold, that counts, doesn't it!
Be sure to stop over at the DREAM it UP! blog to see another great creation, then to the other designer blogs for even more. Stay tuned for the announcement of our new team members starting in January.
I hope you have a wonder Christmas with family and friends.
Happy Creating,
Louise