
Our Stampendous and Creative Impressions Blog Hop has been so much fun! This week the Stampendous Design Team has been sharing our creations that feature some of the wonderful ribbons and embellishments that Creative Impressions has generously provided us. They are the perfect finishing touches to our designs. And what's a Blog Hop without some PRIZES!

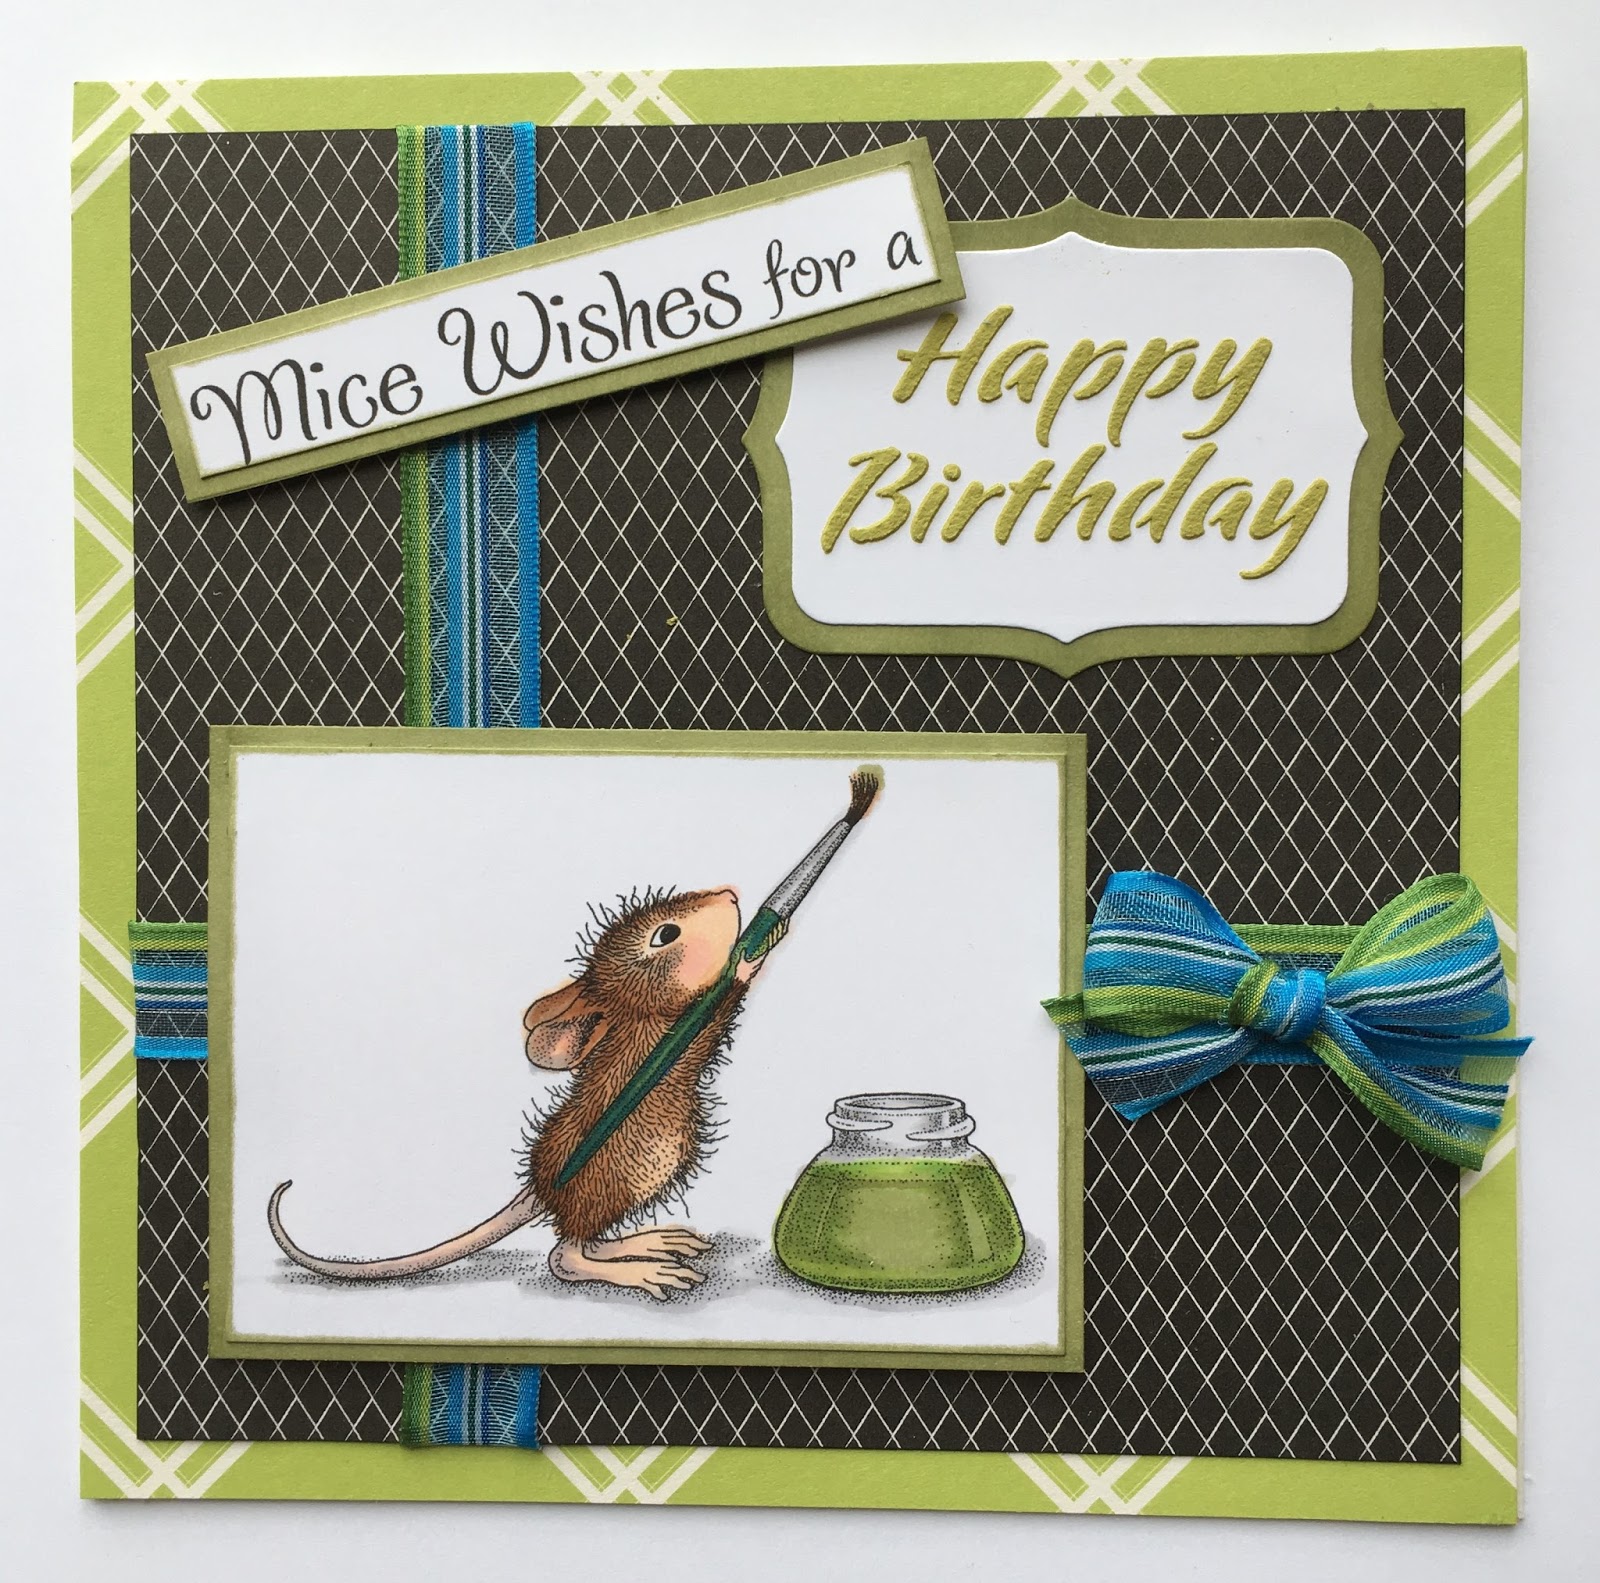
My creation today features the adorable Painted Wishes
 |
| Mice Wishes! |
SSCM5002 Painted Wishes House Mouse
DCP1006 Fitted Frames B
Acrylic Handle
MPW811 Mixed Media White Paper
MEM01 Memento™ Tuxedo Black Ink by Tsukineko®
Dreamweaver
DWLS1010 Happy Birthday Stencil
DWDEP Regular Embossing Paste
DWDPK Dreamweaver Palette Knife
DWLM2010 Paste Spreader
Patterned Cardstock - Green, Black
Copic Markers - E51, E33, E37, R00, YG01, YG03, YG06, T0, T2, YG93, B37, B34, 100
Foam tape
May Arts Ribbon
Fabri-Tac
Removable Tape
Acrylic Paint - Spanish Olive, Bright yellow
Die Cut Machine
Instructions
Step 1: Fold a 6" x 12" piece of Green patterned cardstock in half to form an square card
Step 2: Stamp the Painting Mouse image on a 2 1/2" x 3 1/2" piece of Mixed Media paper with Memento Tuxedo Black ink, color with Copic Markers, edge with the YG93 marker
Step 3: Stamp the Mice Wishes sentiment on a 1/2" x 3 1/4" piece of white, edge with the YG93 marker
Step 4: Cut a 2 5/8" x 3 5/8" and a 5/8" x 3 3/8" pieces of white, color in along each edge about 1/4" with the YG93 marker, use as mats for the mouse and sentiment
Step 5: Cut a 5 1/2" x 5 1/2" piece of the black patterned paper, edge with black marker
Step 6: Cut two 7" pieces of matching ribbon, adhere to two sides of the black paper adhering in the back, adhere the black paper to the card front
Step 7: Tape the Happy Birthday stencil to a piece of white cardstock with removable tape
Step 8: Use a palette knife to place about a tablespoon of Regular Embossing Paste on a craft mat, add a few drops of each of the acrylic paint colors, mix well, apply across the stencil, remove stencil and place in water for cleaning, let pasted image dry well
Step 9: Use the fitted frames to cut out the Happy Birthday, and a matching mat from white cardstock, color the edge of the mat with the YG93 marker, adhere them together
Step 10: Use foam tape to apply the mouse image to the lower left of the card front, adhere the Happy Birthday to the upper right, use foam tape to add the sentiment
Step 11: Tie a small matching bow, adhere to the card with Fabri-Tac
Head over to the Stampendous Blog for our list of designer's today.
Happy Creating,
Louise


